Tuesday 31 December 2013

Last project of 2013


Here's the last project of 2013 with the wooden shape I bought the other day.  I've used Lavinia stamps as the main image and also for the surrounding frame.  Various Adirondack inks and Tim Holtz black enamel for the stones also a bit of glitter dust and a few little cones and beads. 


Happy new year to you all


Saturday 28 December 2013

A quickie blog and late entry for Lavinia blog challenge for December


I went out looking for bargains at the local craft shop, unfortunately there were none.  I've bought a few shapes to stamp and decoupage.
 
I've just had a play, inspired by a card made by Eileen Godwin and decided to enter the Lavinia challenge this month.  I've used a small leaf stamp and the fairies dancing, various Adirondack ink pads, some Tim Holtz black enamel and some glitter dust.  This will be an ongoing project but I have to get the basic project in now as there are only a couple more days to go.
 
 
Happy new year to all xx


Monday 16 December 2013

Cards for kids


Had to make 8 more cards for kids, so the boys have got the snowman and the girls have the angels.   All are quite tactile, so hoping they are a success.  The snowmen and the angels were die cut using Marianne dies, the angels had velum over the dress part and some glaze pens to pick a little detail out of.  The snowmen were all mounted an snowy gauze and have different brads in one of their hands.  Sticking the gauze to the card is a bit faffy.  All made with papermill card, linen and hammered.
 
Angels


Snowmen
 

Sunday 15 December 2013

Tactile card


Today I've spent doing a tactile card for a blind little girl.  The base is Paper Mill. Then a layer of fine material for the topper to rest on.  The topper is made from a piece of white felt, covered with a piece of material that is to mimic snow, then on top is a Hunkydory topper that was left over from last year.  A red pearl for the nose and some glossy accents on the small hearts.  Inside is a musical player which plays Rudolph the Red Nosed Reindeer.
I hope it goes down well.
 

Saturday 23 November 2013

Lavinia Blog challenge

 
I'm entering a card into the Lavinia challenge that I did a few weeks back.
 
 
I used the lovely Lavinia stamps, Adirondack inks and some gilding flakes. 

Thursday 31 October 2013

Lavinia stamps and wooden plaques

I've managed to get hold of some more wooden plagues to play with.  I've used a mixture of Adirondack inks and Versafine inks, along with some Tim Holtz black and white enamel for detailing. The flowers have all been dipped into ultra thick embossing powder in the melt pan.


It's quite hard to blend the inks on wood so after the first attempt I decided I'd just stamp directly onto the wood.  I'm not particularly keen on the last one but it was worth experimenting.
 

Wednesday 16 October 2013

The only reasonable success out of many tries

Wow, it's cold here and rainy ..... So to keep myself out of bother I decided to have another play with my craft stuff.  I tried quite a few different projects today but only one turned out to be reasonable.


I'm getting the hang of brayering and really enjoying it.   So today I've used Purple twilight, Sunshine Yellow and Stream for the background and stars.  I've used Espresso for the  toadstools,  Vintage Sepia, Crimson red and Spanish moss versafine inks for the leaves.  I used Crafty Notions Autumn Rose gilding flakes and Hero Arts prisma glitter on the stars.  I hope I'm now reaching a good standard of work but must remember not to over crowd or make the cards too busy .....

Tuesday 15 October 2013

Still trying

I thought I'd have a go again at brayering.  Thinking back to Tracey Dutton's demos at Ally Pally, Eileen's and Barbara's advice I've put my best foot forward.  Quite pleased with the result.  I've used Adirondack inks, mica boss for the gilding on the lettering (which didn't go quite as well as planned, so I stamped the words again in black and slightly offset them (more by luck). I dotted around some of the gilding size from Sweet Poppy on the top of the dandelions and used some gold ep on the stars.
Still got lots of work to do getting the perspective right. I'm getting braver. Btw, gilding flakes in the eye hurt a tad.
 
 
I'm toying with the idea of doing it again but this time putting the dandelion on the side and the wording on acetate over the top of the card.  Hmmmm decisions, will have to wait until I have time to dig out the acetate somewhere in the depths of my craft room.

Monday 14 October 2013

Playing around with mount board

 
What can you do on a horrible cold wet day?  Well, luckily my new Lavinia stamps arrived so I decided to have a play with them.   The additions to my collection are:  Zen fern, Zen houses and a fern.  I've used the fern, along with the set bought from QVC recently, which included the fairy with the trumpet and also the stars stamp from the set.


I covered the mount board with Antique linen distress ink.  After masking off a moon area I went over with Squeezed lemon.  Around the edges I used the fern stamp with Vintage sepia versafine ink.
The hills were done using Forest pine distress ink.  Some of the stars are gilded, using Ali Reeve's mica boss and the gilding on the edge is done using the size from Sweet Poppy Stencils. I've used Tim Holtz black enamel on the trumpet.  I did use the Zen fern on the bottom but unfortunately it hasn't shown up in the photo.  I'm quite pleased with the result and hopefully will improve the blending technique.
 

Saturday 5 October 2013

Door Hanger - Entry for October Lavinia challenge


I recently visited Ally Pally and bought a door hanger, which I painted with a linen acrylic paint.
Using the new stamps that I bought from QVC by Lavinia and another bought at Ally Pally I've made this door hanger as a present.  I've used glossy accents on the fairy and also some glamour dust.  Just hope it dries in time to give with the rest of the present this afternoon.


I'm not sure if these qualify as autumn colours, if so I might enter it into the Lavinia challenge for this month, so here's hoping it does.

Monday 2 September 2013

Experimenting


I had a play yesterday, firstly with my poppies from Sweet Poppy Stencils.
I was quite pleased with the result, still need some more practising but hopefully getting there. 


This was using distress inks and translucent medium.
 
2nd experiment, I wasn't so happy with the overall out come, think I should have stopped before I did.

 
This was using Lavinia Stamps on pan pastels.  The outer effect was from using some scrunched up bubble wrap with versamark ink.   The moon effect was from the wet glue coming thru when I put the card under a heavy weight to stop the topper from warping.  I wish I'd not put the flowers on at the bottom, it's made it too busy.  But I love the effect that the bubblewrap made.  So back to the drawing board for me.
 
Ah well, it's back to work today for me, so I'll probably have to wait until the weekend to have another go.

Saturday 31 August 2013

Bags


Today I've done four bags, three of them I've personalised with names and this one is for me.


As you can just see, Archie kept an eye on me with the hot iron.

 
These were done with Lavinia download and bags are from hobbycraft.
I've run out of transfer paper, so off tomorrow to get another pack.
 
I really love the downloads, they make it so easy to do a quick little pressie.


Wednesday 21 August 2013

Great Nieces and T Shirts August Lavinia stamp challenge


Ok, so today I've got some more Lavinia downloads and jazzed up a couple of plain white t shirts for my little great nieces.  I've personalised them with their names on.


So above is the front of Sienna's t shirt, forgive the photography and the camera strap.

 
The back of the t shirt


The front of Daisy's t shirt


and the back.
 
I love the Lavinia downloads and thought this image lends itself to little girls tops.
Just one small problem now, what do I do for Dylan, my great nephew.
I'll be trawling through some boyish images, so that he doesn't feel left out.
 
The quality of the downloaded images is second to none and you get a really good result when ironing onto a cotton top.

Tuesday 20 August 2013

Playing about

Yesterday I had time for a play around with inks and stencils, here's a few of the results.


This is one of the Sweet Poppy stencils, used with the gold paste.
 
 
Another Sweet Poppy stencil, used with inks, translucent paste and micro beads.  Not too sure about this one, maybe a different coloured background i.e. black or without micro beads, will have some more plays and see if I can't improve on this one.


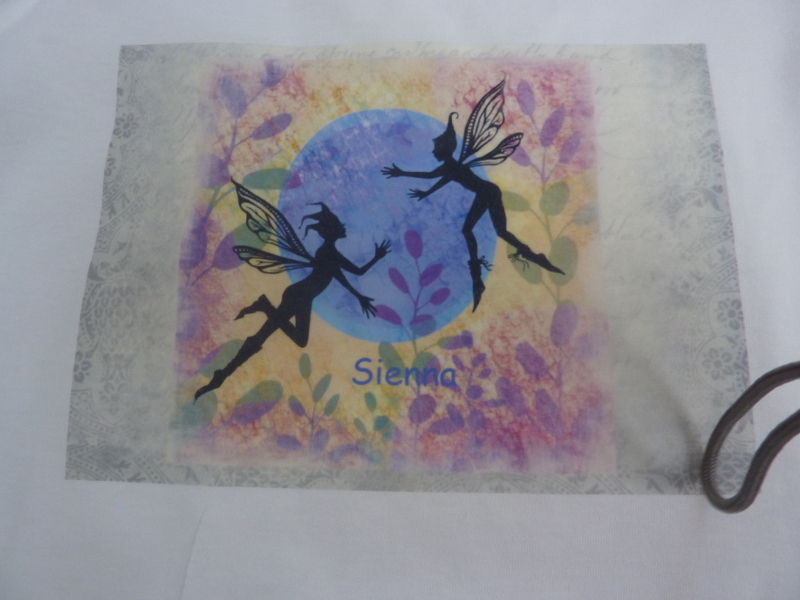
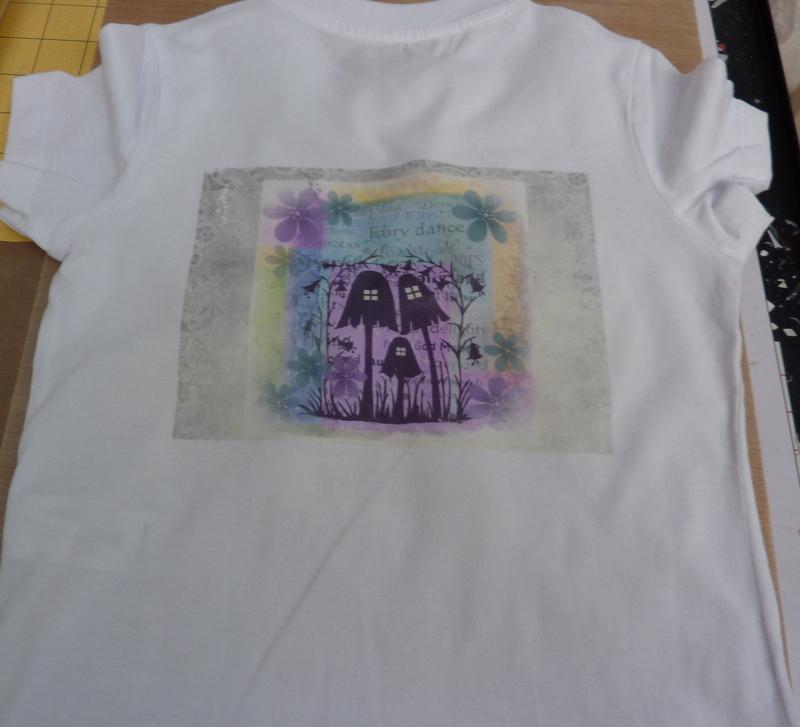
Lastly, Lavinia stamps.  I used the texture stamp and the mushrooms, along with pan pastels.
I have an idea to try a theatre card using the same stamps but giving it more depth.  So today I might be doing a lot of intricate cutting out, hope patience is with me.
 
When I've finished today's experiments, I hope to have time to mount them as cards.
Ideas using acetate are also popping thru my head.

 
Right, dog walking time then down to some serious playing.
Happy crafting all.

Sunday 4 August 2013

Storage for stamps

I get so fed up with hunting for stamps, I've decided to make myself a sensible system.  Hopefully this will also keep them in good condition, rather than them all being on top of each other in a draw.
Probably not a new idea, but seemed a good idea to me.


I bought a cheap ring binder and played around with a Lavinia download.


I stuck all my stamps on to acetate and put that into pockets.


I can see them all now at a glance and they're stored in a tidy group.


These are of course my favourite stamps.  Hopefully the collection will be growing soon.
 
I'm thinking of doing something similar with my Sweet Poppy Stencils but that will require some magnetic sheets in the near future.
 
If only I could get my act together and get the rest of my craft room organised, I could spend more time playing and less time hunting.
Happy crafting all.

Tuesday 30 July 2013

Fairies on fabric with die cut butterfly

I've decided to add a butterfly to my bag and enter the challenge blog.  I've coloured the butterfly with distress ink, Victorian velvet.


So off to Mr Linky to see if I can remember how to link to the Lavinia challenge blog for July.

Monday 29 July 2013

Lavinia fairies on fabric

After seeing the lovely things on the Lavinia Stand at Newbury, I thought I'd have a go.  I bought a plain bag and downloaded the chosen image, bought some T-shirt transfer paper and voila:
 
 
Back


Front
 
Very simple to do and I loved the result.  Hope you do as well.

Tuesday 4 June 2013

Couple of commissions

2 birthday card commissions, 1 for my brother in law who has a caravan.


This one for my niece who is 30 at the end of the month.
 
 
The fan was made with a Marianne die, it can open and close.
 

Wednesday 29 May 2013

Lavinia stamp challenge

Not quite sure what happened to my link, but anyway, Here is the sample I'm adding for the Lavinia stamp challenge.  Distress ink background, Sweet Poppy Stencil and a couple of Lavinia fairies.
Fingers crossed, would love to win some more of their beautiful stamps.


http://blog.laviniastamps.com/

Monday 27 May 2013

New card for 1st birthday

I've been asked for a card for a little boys first birthday, so here is draft no1.


Will be back to the drawing board tomorrow to see if I can come up with any more ideas.  Hmmmm thinking cap is on.

Saturday 25 May 2013

Experimenting

I've only been playing today, so no results to show but I have a top tip to share ........ some of you will probably had done this anyway, but today I thought I had a brainwave ..... so let me pat myself on the back for a minute even if you have done it. Put an empty laminating folder thru your laminating machine then put it thru a die cutting machine with different size circles (or any other shape you want) you then have different size masks for suns, moons, you also have the positive and negative ...... came in very handy and the inks, pastels just wipe off.
Saves keep cutting bits of paper and throwing them away after one use ........ see ....... skinflint or what, also the ink isn't wasted as it acts similar to one of these inky mats, obviously not as good but every little helps ;) x

A couple of pics of Archie with his chew, while he was waiting for me to finish playing before going out for his evening walk.


Thursday 23 May 2013

A quick play after work with my new stamps
Background is distress inks, stamped and embossed.


Sweet poppy stencil with white embossing paste and gold glamour dust on a distress ink background.


Sweet poppy Stencil with white embossing paste and my favourite micro beads on a background of distress inks.


Another sweet poppy stencil with white embossing paste and crystal glamour dust on distress ink background.


All ribbons inked  up to match and will be added when these have dried tomorrow.

Wednesday 22 May 2013

On a roll

I've spent most of the afternoon playing ....... some of the results I'm pleased with ....... all are based on Eileen's workshop techniques.

 
Tag using distress inks, a wet mask applied ........ didn't leave the impression I expected but actually turned out better this way, I used versa mark ink on my stamp and a clear embossing powder.  Coloured the ribbon to match the ink.  I'm really quite pleased with this.
 
 
Well I couldn't resist stamping on it .......... first fairy slid just a tad but 2nd fairy was a very good fairy........ I'm leaving it alone now ......... I just know not to chance my luck any further.  Fairy's are Lavinia Stamps.

 
Ahhh now to my masterpiece ........ I can hear you all gulping ........ this is a piece of pearlescent card ....... I put my distress inks on the sheet, blitzed with water then pulled the card thru, dried and repeated.  I can see things in it ...... probably most will only see a mess but it will come in useful at sometime ....... I hope.